
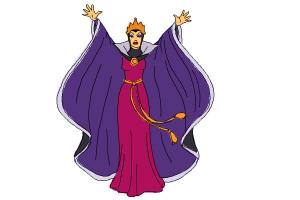
How to Draw Disney Princesses
287,751
- staff_illustrator14
- July 30, 2015 (Added)
- 1 (Comments)
Follow this step by step drawing tutorial and learn how to draw Disney princesses in a few simple steps.
Category:
Tags:
 Show Less

Step 1 - Start with a pencil, draw an ellipse for the head and a vase shape for the body, notice that the body is a little bit bigger than the head and it's on the right side.

Step 2 - Add a big bell like shape for the dress and two lines to connect the head with the body.

Step 3 - Sketch the arm using two elongated shapes, start the line from the shoulder and finish just under the upper part of her dress. Draw her hand using a rectangle and a small triangle, add a small line for her thumb.

Step 4 - Use the same technique as in the previous step, this time draw a shorter upper arm and finish it in the middle of her body.

Step 5 - Add more details to her hair, start with a tilted line on the third part of her face, draw a curly line on the right side of her head and finish it the same height as her shoulder.

Step 6 - Draw more details to the upper part of the dress, start with a curved line on the right side of her body and add the frills, draw two more curved line for her breast.

Step 7 - Decorate her dress with a few vertical line, start from the upper part and divide it to five parts.

Step 8 - Sketch the frills using banana shapes around the middle part of her dress, add another frill at the bottom.

Step 9 - Draw her eyes in the middle of her face and continue to the nose and mouth.

Step 10 - Sketch more curly lines for her hair.

Step 11 - Trace your guidelines with a black pen or marker and use an eraser to remove them after.

Step 12 - Color your drawing, you can follow the video version of this tutorial up and see how I added the shading.
erjona
It's a beautiful drawing , i love it.<3 ; ) : )
- December 29, 2015
- ·
- Like
- ·
- 1 person
Suggestions
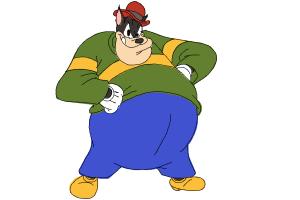
How to Draw Pete, Disney Villain
by staff_illustrator14
60,083 views
60,083 views

How to Draw Hades, Disney Villain
by staff_illustrator14
133,576 views
133,576 views
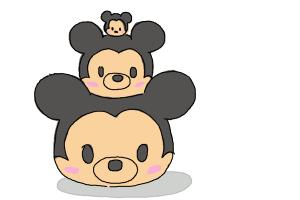
How to Draw Disney Tsum Tsum
by staff_illustrator14
132,691 views
132,691 views

How to Draw Shere Khan, Disney Villain
by staff_illustrator14
56,845 views
56,845 views
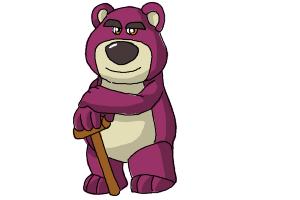
How to Draw Lotso, Disney Villain
by staff_illustrator14
61,933 views
61,933 views

How to Draw Gaston, Disney Villain
by staff_illustrator14
78,818 views
78,818 views
How to Draw Evil Queen, Disney Villain
by staff_illustrator14
78,628 views
78,628 views
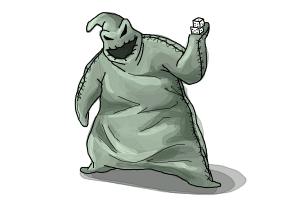
How to Draw Oogie Boogie, Disney Villain
by staff_illustrator14
104,389 views
104,389 views
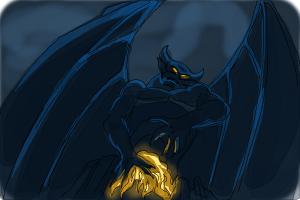
How to Draw Chernabog, Disney Villain
by staff_illustrator14
42,330 views
42,330 views
