How to Draw Chibi Superman
59,907
- staff_illustrator14
- August 15, 2016 (Added)
- 0 (Comments)
Follow this easy step by step drawing lesson and learn how to draw chibi Superman, you can follow the video or the images below or print out all the steps and the coloring page of Superman.
Category:
 Show Less
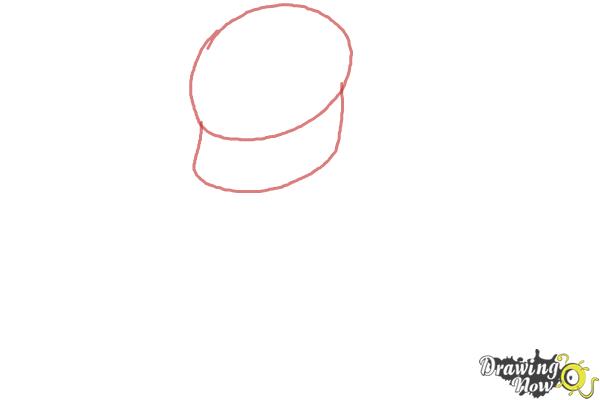
Step 1 - Start your drawing with a pencil, draw an oval shape for Superman's head and a wounded rectangle below for the jaw.
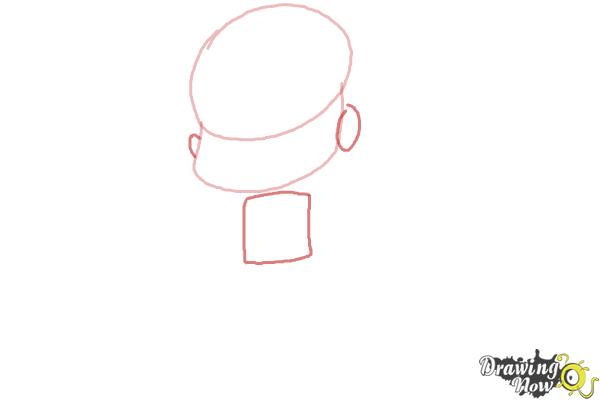
Step 2 - Add a small oval shape on the right side for his ear and a smaller one on the left. Draw a small rectangle for the body below the face.
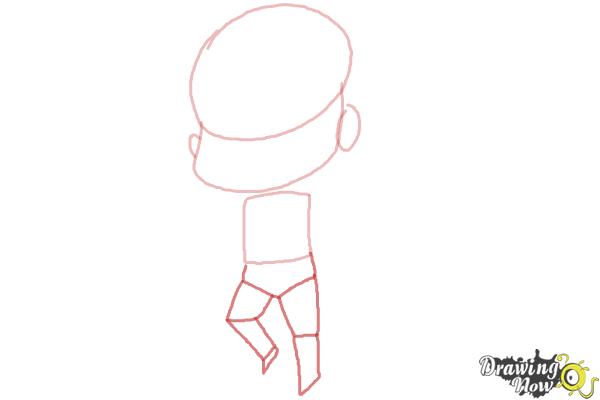
Step 3 - Draw a pentagon below the rectangle, divide the right leg into two parts and the one of the left divide it into three parts, keep in mind the position of the legs.
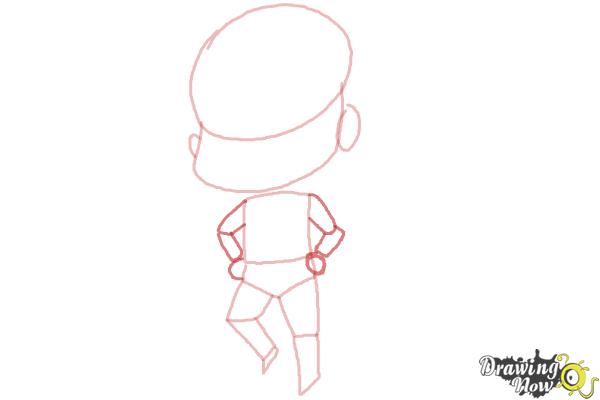
Step 4 - Draw his arms and hands, also here divide them to three parts, two for the arms and a small circle for the hands.
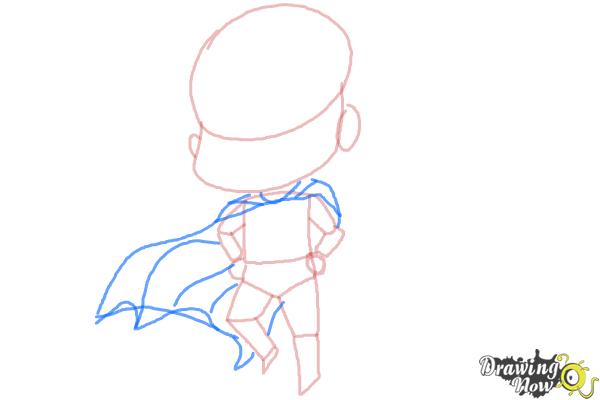
Step 5 - Sketch Superman's cape, start from the shoulders and continue on the left side, add a few lines inside for the ripples on his cape.
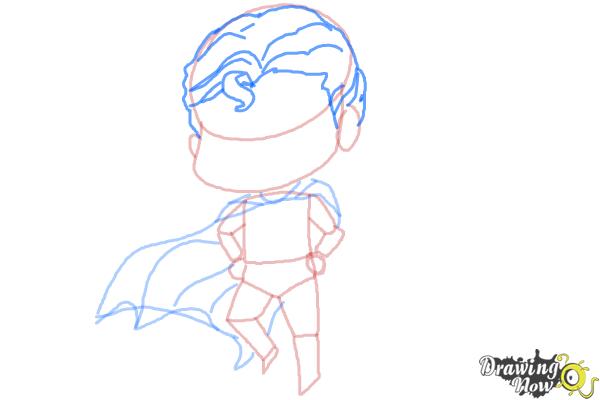
Step 6 - Sketch his hair, you can start with the "S" shape in the middle of the oval shape and then draw the rest, notice that on the right side the hair is drawn around the ear.
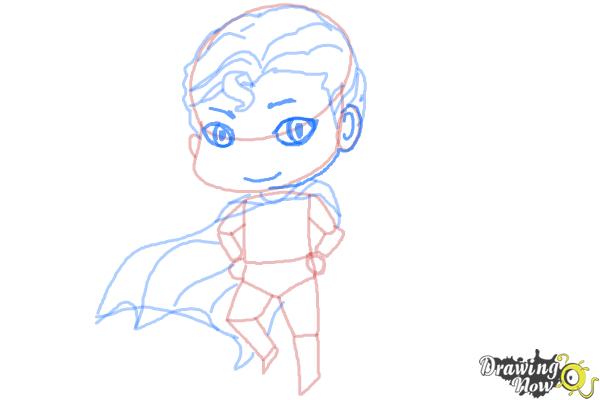
Step 7 - Draw Superman's Chibi facial features, start with the eyes and draw them big, now add his eyebrows, mouth and ear.
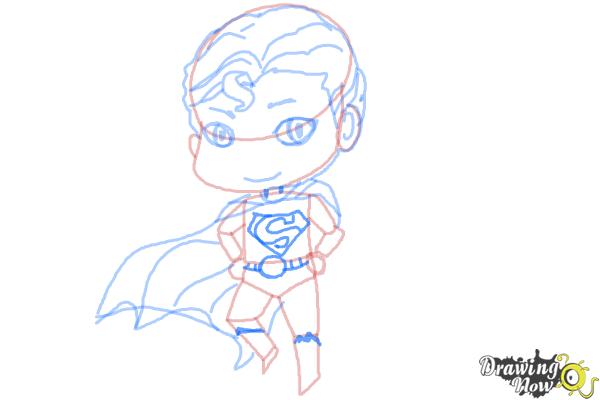
Step 8 - Add more details to his superhero costume, draw a belt with an oval in the center and the famous "S" shape on his chest.

Step 9 - Time to grab the sharpie and go over your pencil sketches, you can erase the pencil after using an eraser.


