
How to Draw Hank from Finding Dory
55,028
- staff_illustrator17
- June 15, 2016 (Added)
- 0 (Comments)
Hi everyone, here's a simple step by step drawing lesson of how to Hank from the movie Finding Dory, you can follow the video or the images below and you can print the coloring page and all the steps.
Category:
Tags:
 Show Less

Step 1 - Draw two half circles for Hank's eyes and add another two smaller half circles inside.

Step 2 - Add his eyebrows just above the eyes and connect them with a curved line, continue with drawing the two folds below his eyes.

Step 3 - Draw a long curved line on the left side just below the fold and add a question mark shape tentacle.

Step 4 - Continue the curved line we drew before in a circular way to create another tentacle and draw a line at bottom for Hank's body.

Step 5 - Add a parallel line above the line we drew before with an upside down "U" shape at the end, now add two curved lines for his mouth. Add a line on the right side, just below the fold of his eye.

Step 6 - Draw another tentacle, start with a "J" shape line and complete it with a spiral shape. Draw a curved line on the right side of his head and add a small triangle inside.

Step 7 - Continue drawing two more tentacles on the right side, use the same technique as before, start with a long curved line with a spiral at the end and add a parallel line to it.

Step 8 - Add Hank's suction cups on his tentacles, start with drawing rectangle shapes on the side of the tentacles and add more rounded shapes inside.

Step 9 - Color your drawing, you can add a shadow on the left and right side of Hank's head and use two colors for his body as we did.
Suggestions

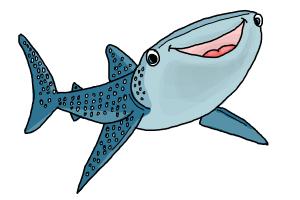
How to Draw Baby Dory From Finding Dory
by staff_illustrator17
133,338 views
133,338 views
How to Draw Destiny from Finding Dory
by staff_illustrator17
77,536 views
77,536 views
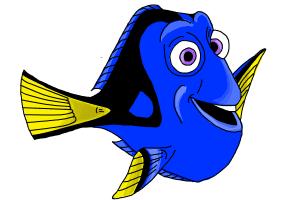
How to Draw Dory from Finding Dory
by staff_illustrator17
97,077 views
97,077 views
How to Draw Marlin from Finding Dory
by staff_illustrator17
90,969 views
90,969 views

How to Draw Gill from Finding Nemo
by staff_illustrator8
23,371 views
23,371 views
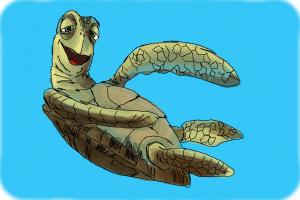
How to Draw Crush from Finding Nemo
by staff_illustrator14
157,733 views
157,733 views

How to Draw Thanksgiving Things
by staff_illustrator14
65,404 views
65,404 views

How to Draw Tom Hanks
by staff_illustrator14
12,763 views
12,763 views

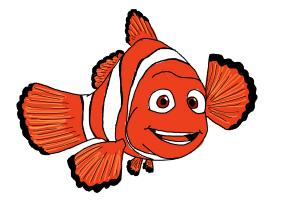
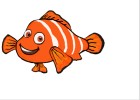
How to Draw Nemo from Finding Nemo
by staff_illustrator7
20,394 views
20,394 views
How to Draw Nemo from Finding Nemo
by staff_illustrator8
15,058 views
15,058 views
